

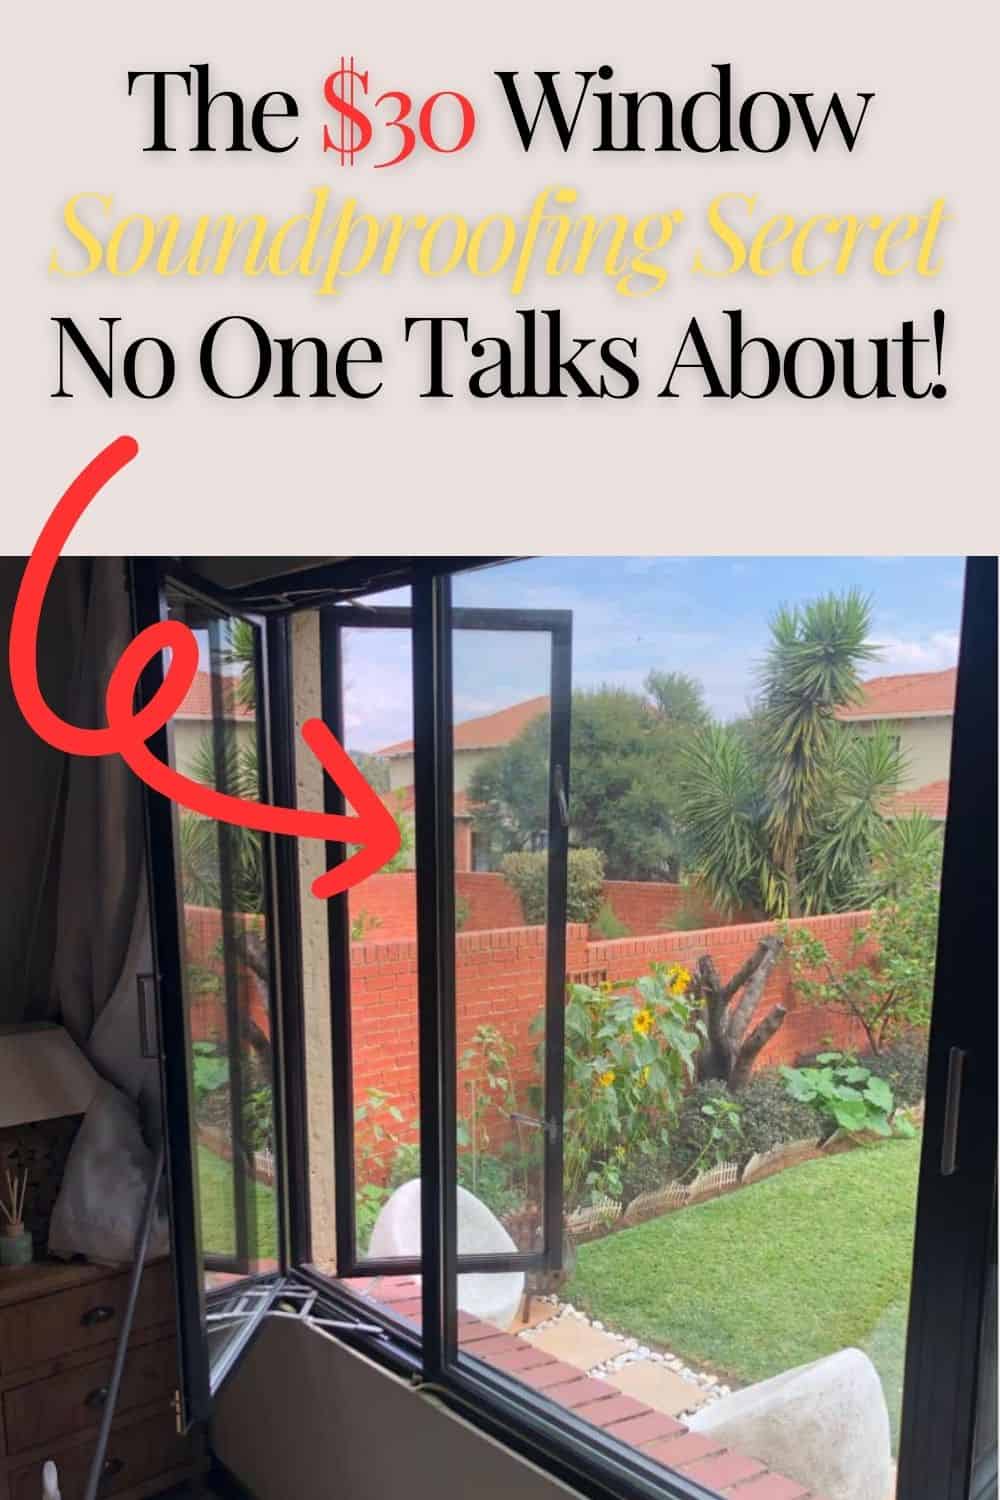
If you’re tired of being bombarded by outside noise and losing sleep because of a drafty window, you’re not alone. Whether it’s the constant hum of traffic, noisy neighbors, or the late-night clatter of city life, windows can be the biggest culprits when it comes to letting sound into your home.
The good news?
You don’t need to spend a fortune to fix it! In this post, we’ll show you how to soundproof a window cheaply, with easy-to-follow solutions that won’t break the bank. From DIY fixes to affordable products you can buy today, we’ve got all the tricks you need to turn your noisy space into a quiet retreat. Let’s get started!
Related: Soundproof Film for Windows
1. Rearrange the furniture

This is by far the cheapest method to soundproof a window, as all it requires is a bit of muscle to move furniture into place. Large pieces like wardrobes, cupboards, or bookshelves work best for this hack.
By positioning furniture in front of the window, you create a barrier that absorbs and deflects sound waves, reducing the amount of noise that passes through. However, keep in mind that this approach blocks natural light, so it’s only ideal if you don’t rely on sunlight in that space.
The biggest advantage? It’s completely free, and it significantly reduces the noise that might otherwise slip through the window.
2. Use soundproof curtains

Soundproof curtains are an effective solution for absorbing noise that enters your room through the windows. The thicker and denser the fabric, the better they are at dampening sounds. These curtains work by absorbing echoes, minimizing the amount of noise that impacts your space.
Installation is straightforward—simply hang the curtains using curtain rods, ensuring they cover the entire window. For the best results, choose curtains with extra width and length to maximize noise reduction.
Not only do soundproof curtains help block out noise, but they also reduce excess light, creating a more comfortable atmosphere. Plus, they can enhance the overall look of your room, as many options are designed to be both attractive and stylish.
Bonus Tip: For even better noise reduction, layer your soundproof curtains with regular ones. The added fabric will provide extra insulation and help trap more sound, while still giving you control over how much light enters your space.
3. Weather Stripping
To seal gaps using weather stripping, you’ll need weather stripping tape, which is available in materials like rubber, foam, silicone, and more. Closed-cell foam tape is an excellent choice, as it’s cheap, durable, airtight, and waterproof. It provides a strong seal against both noise and drafts, and it also prevents insects from sneaking in through the gaps.
Installing weather stripping tape is easy. First, clean the area around your window frame to ensure proper adhesion. Then, cut the tape to the size of your window and apply it along all four sides. Repeat this process for any other windows in your home for a significant noise reduction, along with added benefits like water resistance and extra insulation.
4. Acoustic Caulk
Acoustic caulk is another great option for sealing small gaps around windows. This specialized caulk is designed to stay flexible over time, so it won’t crack or shrink, ensuring a long-lasting seal.
Installation is simple: clean the surface where you’ll apply the caulk, as dirt and dust can interfere with its adhesion and elasticity. Once clean, apply the caulk into the gaps around the window frame. Acoustic caulk is far more durable than regular caulk, lasting up to three years, and offers excellent soundproofing benefits.
Bonus Tip: For an even more robust soundproofing effect, combine weather stripping with acoustic caulk. Use the caulk to seal smaller gaps and apply the foam tape to larger sections. This double layer of protection will create an airtight seal, maximizing noise reduction while also improving energy efficiency by preventing drafts!
5. Use soundproof blankets
Soundproof blankets work effectively in absorbing noise passing through the windows. The blankets are made with a dense and heavy material that work out well in soundproofing the window.
The soundproof blankets are more effective than regular blankets since they mostly made of cotton, fiberglass, or polyester.
Some blankets have grommets while other does not have. The grommets help you hang the blanket on to the rods on the windows. For those that do not have grommets, you can install them yourself or screw the blankets on to the wall.


There is a variety of these blankets in the market, and they come in a different color to choose the one that complements your room. The blankets also reduce the amount of light that penetrates your room.
6. Install thick material shades and blinds
Blinds and window shades can also be used in soundproofing windows. Those made with a thick material are the best since the thicker they are, the more sounds they block.
Installation is easy and quick, and they don’t require any special skills. You can combine this method with another one since the blinds and the shades do not block all the noise.

The good news is that the blinds and shades do reduce not only noise but also control the amount of light penetrating your room. Cordless Single Cell Shades work affectively and are thicker than the regular shades.
The above type of shades dampens and absorbs sound waves passing through the window since it is made of pure polyester. They also give you privacy and peace when resting in your house. The shades reduce both echo and all kinds of sounds entering through the window.
The shades come in different colors so you can choose the one that compliments your room. They improve the visual impression of your house.
7. Use Acoustic Panels
Acoustic panels are bulkier and thicker than the soundproof blankets. An example of the panels includes the Singer Safety Fiberglass Panel. As the name suggests, it is made with quilted fiberglass, which is a good sound barrier.
The material does not allow any sound waves to pass through; thus, they are good at reducing echo sounds and other kinds of noise on either side of the panel.


Installation is not hard since the panels have grommets on all sides. The grommets simplify the process since you have to hang them on the nails or hooks.
The close the panels are to the window, the more effective they are in sound absorption. If you find the panels not visually appealing to you, you can add curtains on them.
The acoustic panels are the most expensive method compared to the earlier discussed methods, but they work effectively.
8. Add an Extra Layer of Glass
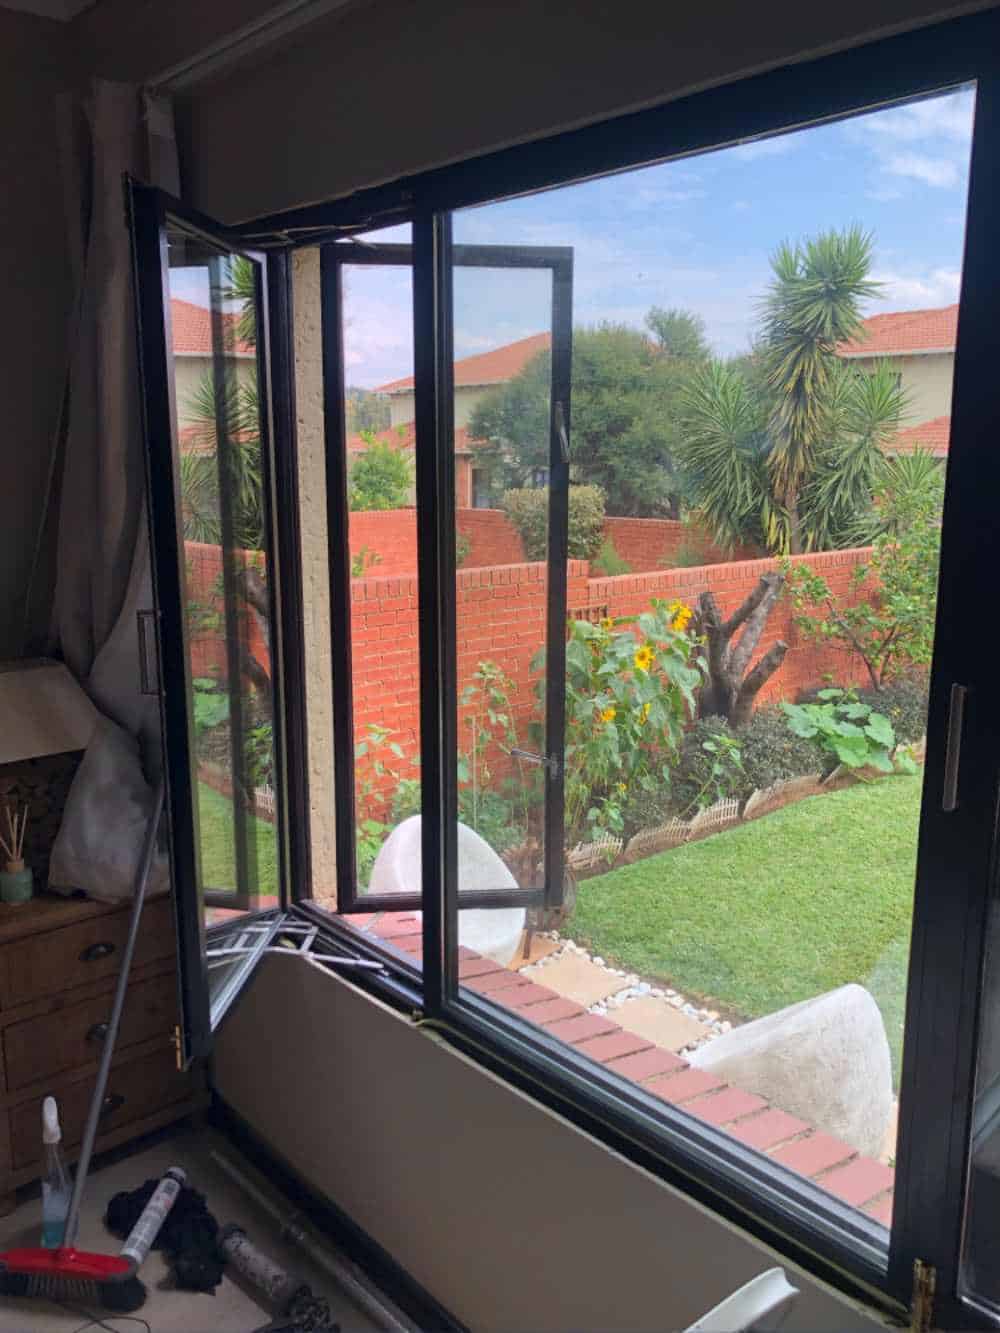
Adding an extra glass can be hard, but it is quite useful in soundproofing. What you do is attach a piece of glass on the inside of the window.
Consider using an acoustic grade glass or a laminated glass for better results. Also, ensure that the newly applied layer holds to the existing glass tightly, leaving no space between them.
You will need special magnets to hold the glass sheet to the window frame. You can purchase a soundproofing window kit that comes with al tools needs when making your soundproof window.
The best thing is that the extra glass reduces the amount of light, and you can remove the glass when cleaning. On the downside is that the method is a bit costly and require more time and effort to install.
9. Install window DIY Window plug
Creating a DIY soundproof window plug is an affordable and effective way to block outside noise. The materials are inexpensive, and once installed, the plug acts as a sound barrier that can be easily removed when the noise subsides.
How to Build Your Soundproof Plug:
- Measure the Window: Start by measuring the length and width of your window, but remember to add a few extra inches on both sides. This ensures that when the plug is in place, there are no gaps for air (and sound) to pass through.
- Cut the Materials: Once you have your measurements, cut your chosen materials to size. Common materials for DIY plugs include acoustic foam, thick rubber, or mass-loaded vinyl.
- Fit the Plug: Firmly press the plug into the window frame. It should create a snug fit that blocks both noise and drafts. You can add a board or piece of plywood behind the plug for extra support and to increase mass, further improving soundproofing and insulation.
- Remove as Needed: One of the advantages of a window plug is its versatility. You can remove the plug easily when you need natural light or want to open the window.
Pros of Soundproof Window Plugs:
- Inexpensive: The materials are affordable and readily available.
- Removable: You can take the plug out whenever the noise isn’t an issue or when you need more light.
- Effective: Provides significant noise reduction and can also act as an insulator, helping to control temperature.

Cons of Soundproof Window Plugs:
- Blocks Light: Since the plug covers the entire window, it also blocks natural light.
- Temporary: While it’s great for occasional use, this is not a permanent soundproofing solution.
- Appearance: Depending on the materials used, window plugs might not blend well with your room’s décor.
Bonus Tip: To boost the soundproofing effect, use mass-loaded vinyl as one of the plug’s layers. This material is highly effective at blocking noise due to its dense composition. Additionally, apply weather stripping around the edges of the plug to create a tighter seal, which will further reduce sound transmission and improve insulation!
Final Thoughts on How to Soundproof A Window Cheap
If you’re someone who enjoys a peaceful and quiet living, then soundproofing can improve your life if you live in a noisy neighborhood.
I hope you now know ways on how to soundproof a window cheap. However, if you’re not on a budget, I’d recommend the most effective methods, which involve installing soundproof windows. Also read: Top 5 Ideas on How to Break a Window Quietly

Meet Mike O’Connor, (a DIY enthusiast), living in Cincinnati, a city ranked as the noisiest in the USA.
As a work from home dad, I have a first hand experience of how noise can truly affect your well being.
Soundproofing isn’t something that should be taken as a hobby, it should be a skill that every homeowner should be equipped with.
Most of the work documented on this blog comes from purely first hand experience, and the products recommended work as indicated.
Thanks for these tips! Great article by the way.