


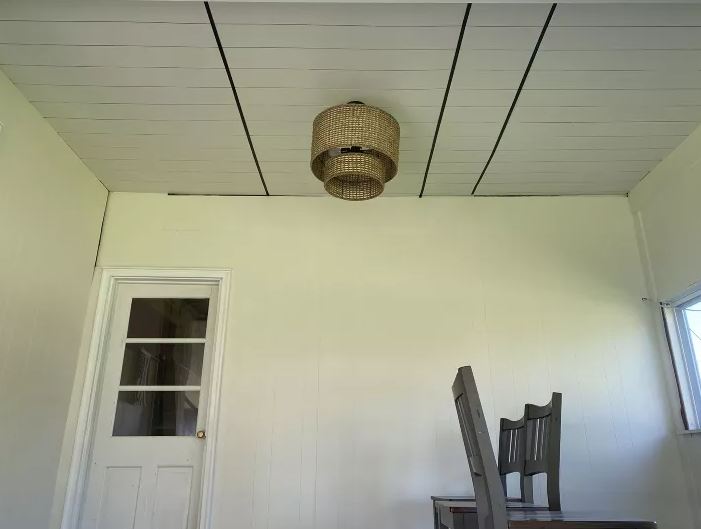
As I kicked off my sunroom renovation, I was bubbling with ideas for the ceiling. I wanted it to make a statement, something that would set the tone for the whole space. My first thought was a bold black planked ceiling—chic, modern, and undeniably striking. But as I imagined it, I couldn’t shake the feeling that black might feel a bit too heavy for a sunroom, a place meant to be bright and inviting. So, I pivoted to the idea of a white planked ceiling, accented with faux beams for a touch of rustic charm.
With the decision made, I got to work. I started by installing 1/4-inch plywood planks across the ceiling, then painted them a crisp white. The transformation was immediate—the room felt more open, airy, and just right for soaking up the sun. But the real game-changer was the faux beams. After some careful planning and a bit of DIY elbow grease, I managed to craft and install them myself. They added the perfect touch of character and warmth, bringing my vision to life. Now, every time I step into the sunroom, I can’t help but smile at how it all came together.
DIY Faux Ceiling Beams Step by Step
As I started working on my sunroom ceiling, I knew I needed to get everything just right, especially since the ceiling would be such a focal point. So, I grabbed my trusty stud finder and began marking the joists with electrical tape to get a clear picture of what I was dealing with. That’s when I hit a snag—I realized the ceiling light wasn’t centered in the room, and the joists weren’t symmetrical either. Not exactly what you want when you’re planning to install beams that need to be evenly spaced. I knew off-center beams would just throw off the whole look, and I really wanted the light to be the star of the show.

After a bit of head-scratching and measuring, I came up with a plan. I decided to hang the beams slightly off the side of each joist, which would allow me to center them perfectly around the light. With that figured out, I dove right into making the beams.
For each beam, I cut three 6-inch strips of 1/2-inch plywood to match the length of my ceiling. I then assembled the strips into a U-shape, securing them with a bit of Liquid Nails and 0.5-inch brad nails. The process was surprisingly straightforward, and since the beams were hollow, they were light and easy to work with.
Once the beams were stained and dried, installation was a breeze. I attached them to the ceiling with construction screws, making sure everything was lined up just right. Seeing those beams up there, perfectly framing the light, was so satisfying. They add a lot of character to the room, and I’m thrilled with how they turned out.
Choose stain Color
First, choose your stain color. I tested different stains on a scrap piece of plywood. I decided to use oil-based Early American. Before staining, I applied wood conditioner. Here’s how it turned out.

Step 1
Now you’re ready to install your beams. First, use a chalk line on the ceiling joists to mark where the beam will go. Cut about five scrap 2×4 pieces for each beam, making sure they fit inside the beam. Pre-drill two holes in each piece. Then, attach them to the ceiling joists with 3-inch construction screws, spacing them about 20 inches apart. Make sure they follow the chalk line. Once they’re secure and aligned, you’re ready to put up the beams.

Step 2
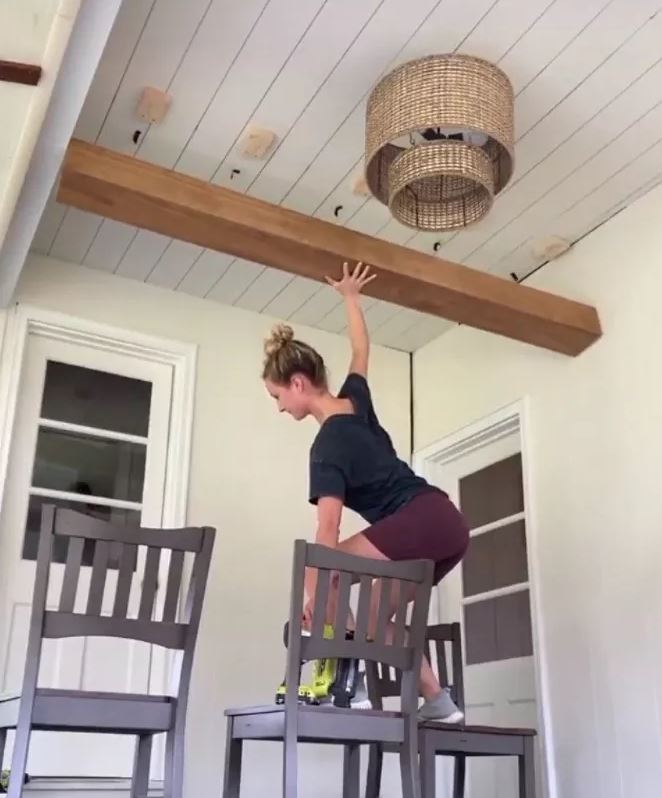
Place your beams over the scrap 2x4s and press them flush against the ceiling. Use a nail gun with 2-inch brad nails to attach the beam to each 2×4. Here’s a picture of me balancing while securing the beam! Once the beam is nailed in, you’re done!


Meet Mike O’Connor, (a DIY enthusiast), living in Cincinnati, a city ranked as the noisiest in the USA.
As a work from home dad, I have a first hand experience of how noise can truly affect your well being.
Soundproofing isn’t something that should be taken as a hobby, it should be a skill that every homeowner should be equipped with.
Most of the work documented on this blog comes from purely first hand experience, and the products recommended work as indicated.